
Have you ever wanted to buy a new T-Shirt and felt it was too long, so you put it back on the rack? I have many times.
(too long)
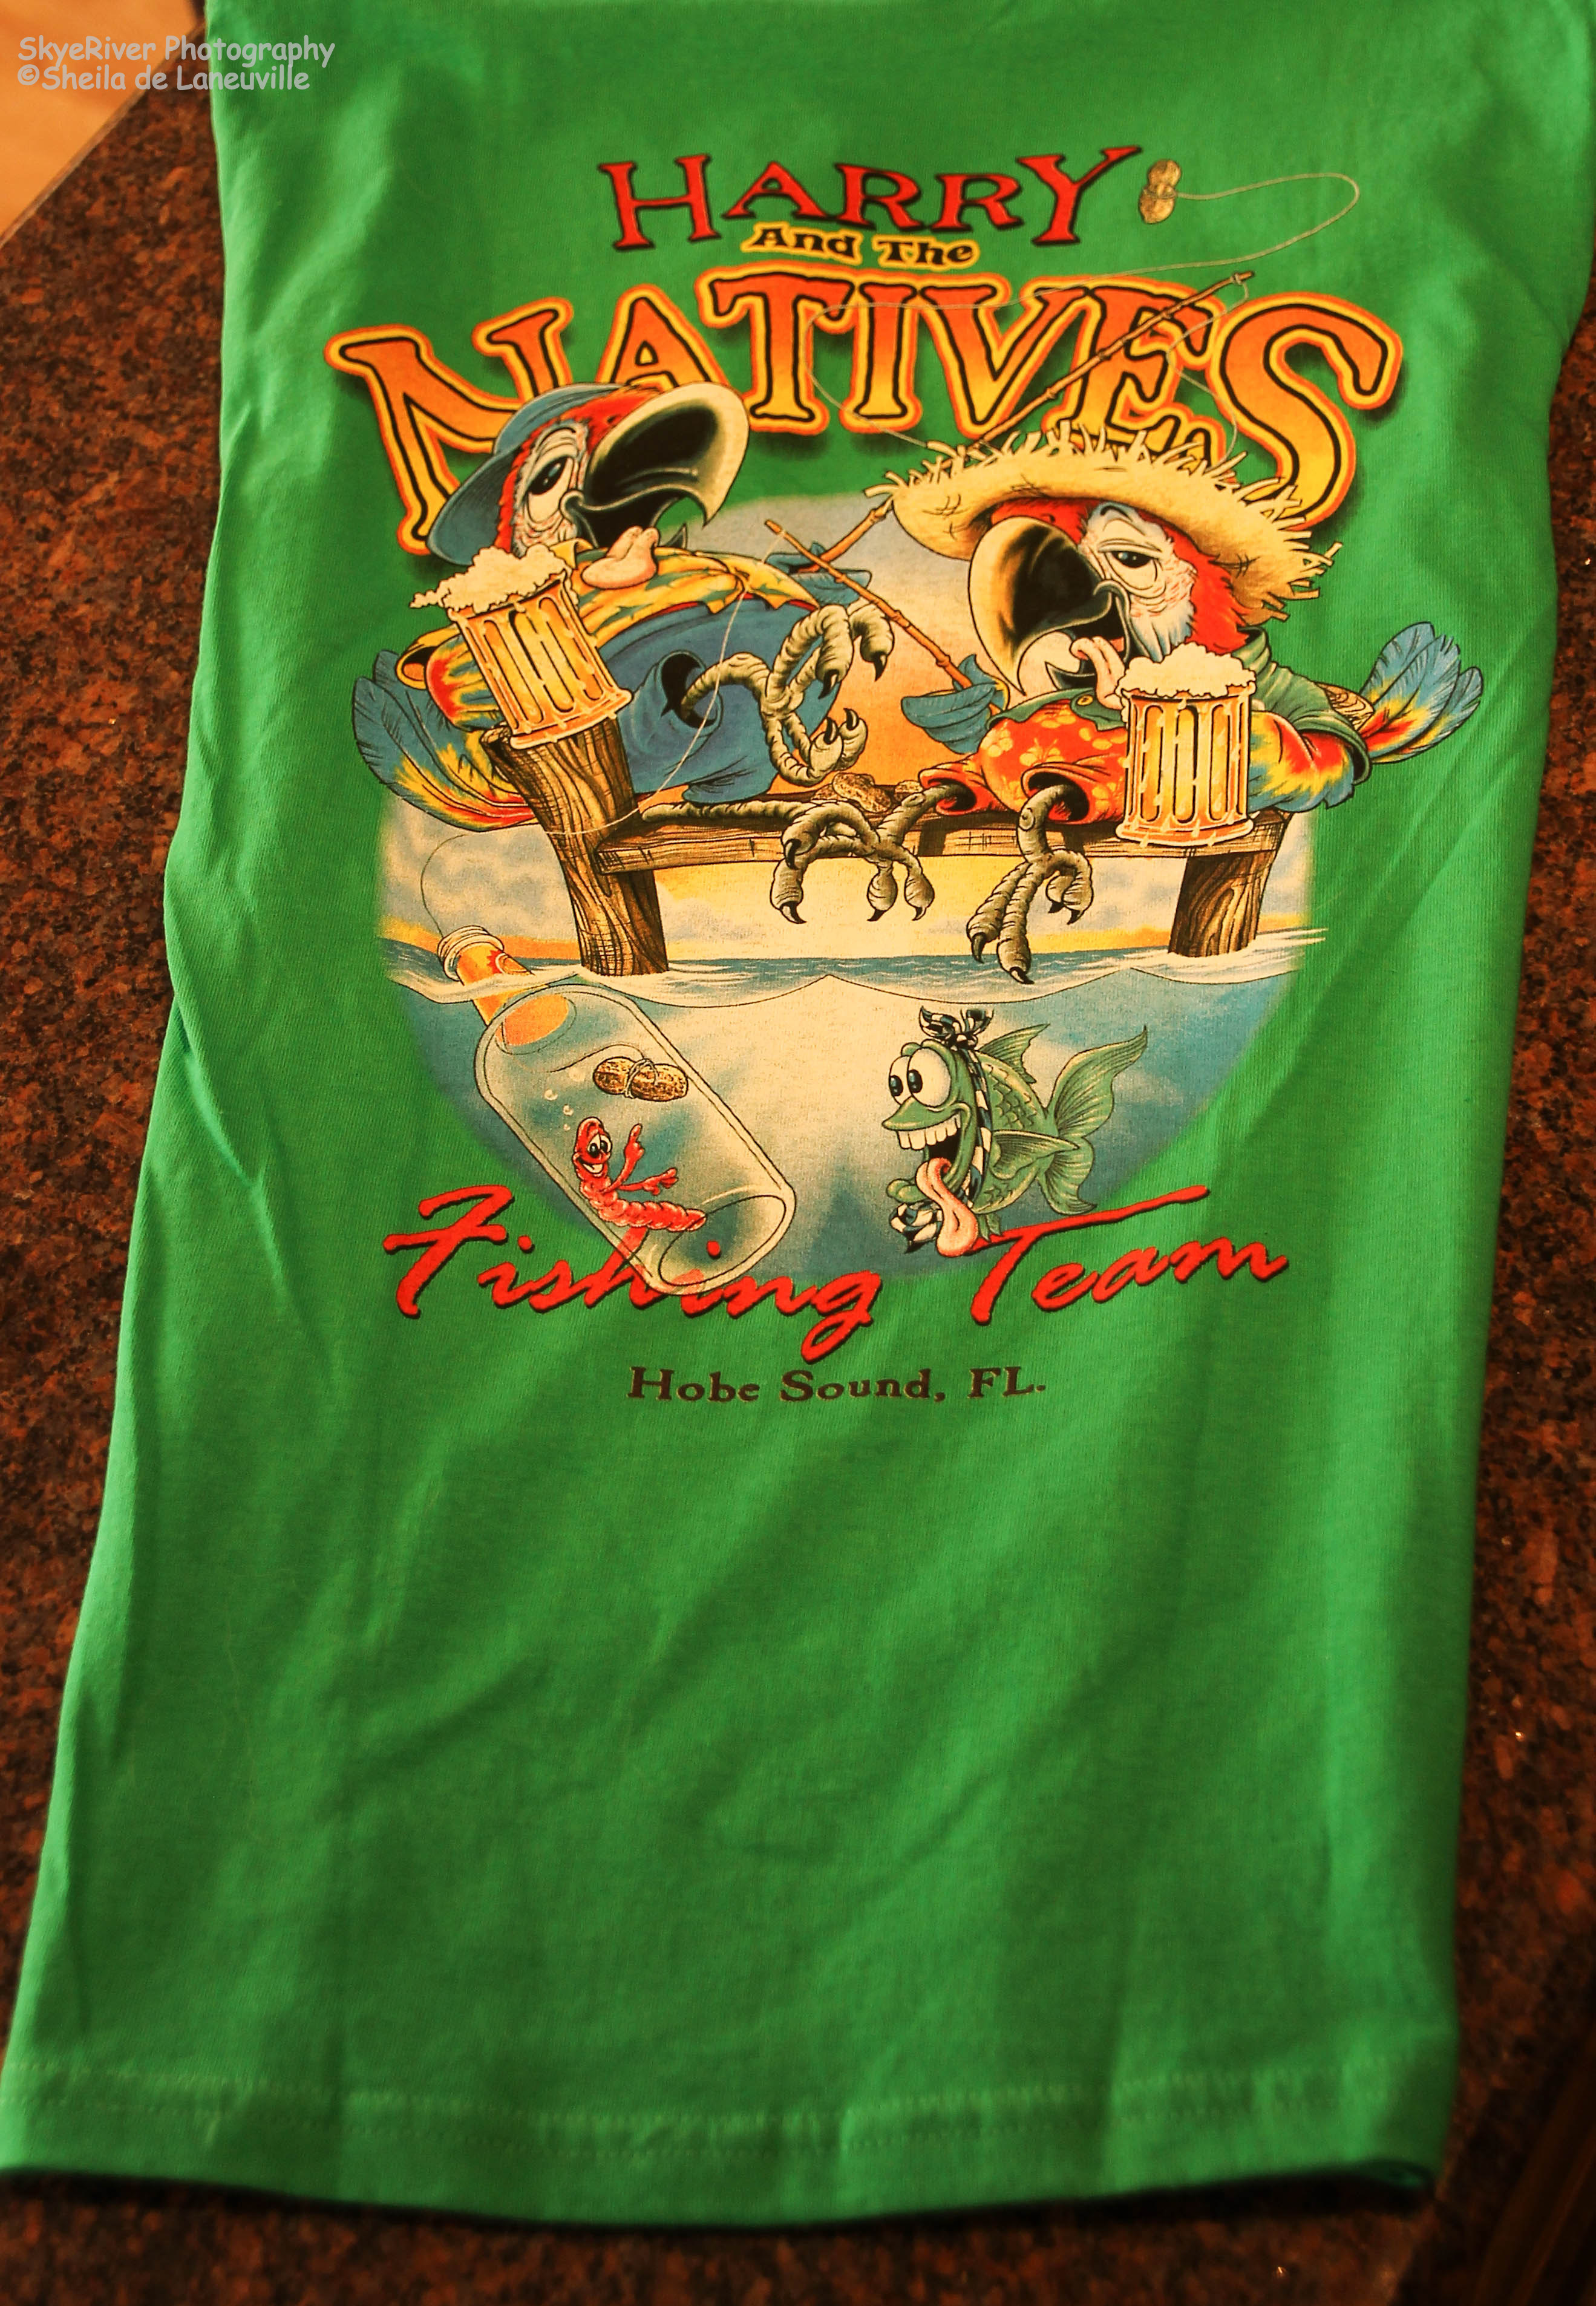
Sometimes I like to buy a T-Shirt as a remembrance of a special occasion.
~I have a T-Shirt from my very first Star-Gazing Party, at the McDonald Observatory, located in the Davis Mountains of West Texas.
~A shirt from a visit to observe Grey Wolves and listen to a talk by a wildlife biologist in Denver, CO.
~One from my first visit to Yellowstone and Tetons National Parks.
My list goes on, but you get the idea. I find that all my T-Shirts are longer than I like, because I am short. A simple solution, to solve a too long T-Shirt, is to weave the bottom making it shorter. A few years back a friend introduced me to T-Shirt Weaving.
It is fun and easy to do!
A group of friends and I spent last Wednesday, at my house, T-Shirt Weaving. One friend doesn’t like to wear T-Shirts so she worked on a shirt for her young granddaughter. We had lunch, spent time catching up and weaved our shirts. It was a fun day!
I have weaved T-Shirts that have been washed many, many times, so the weaving holds up and looks great.
Here are the instructions on T-Shirt Weaving:
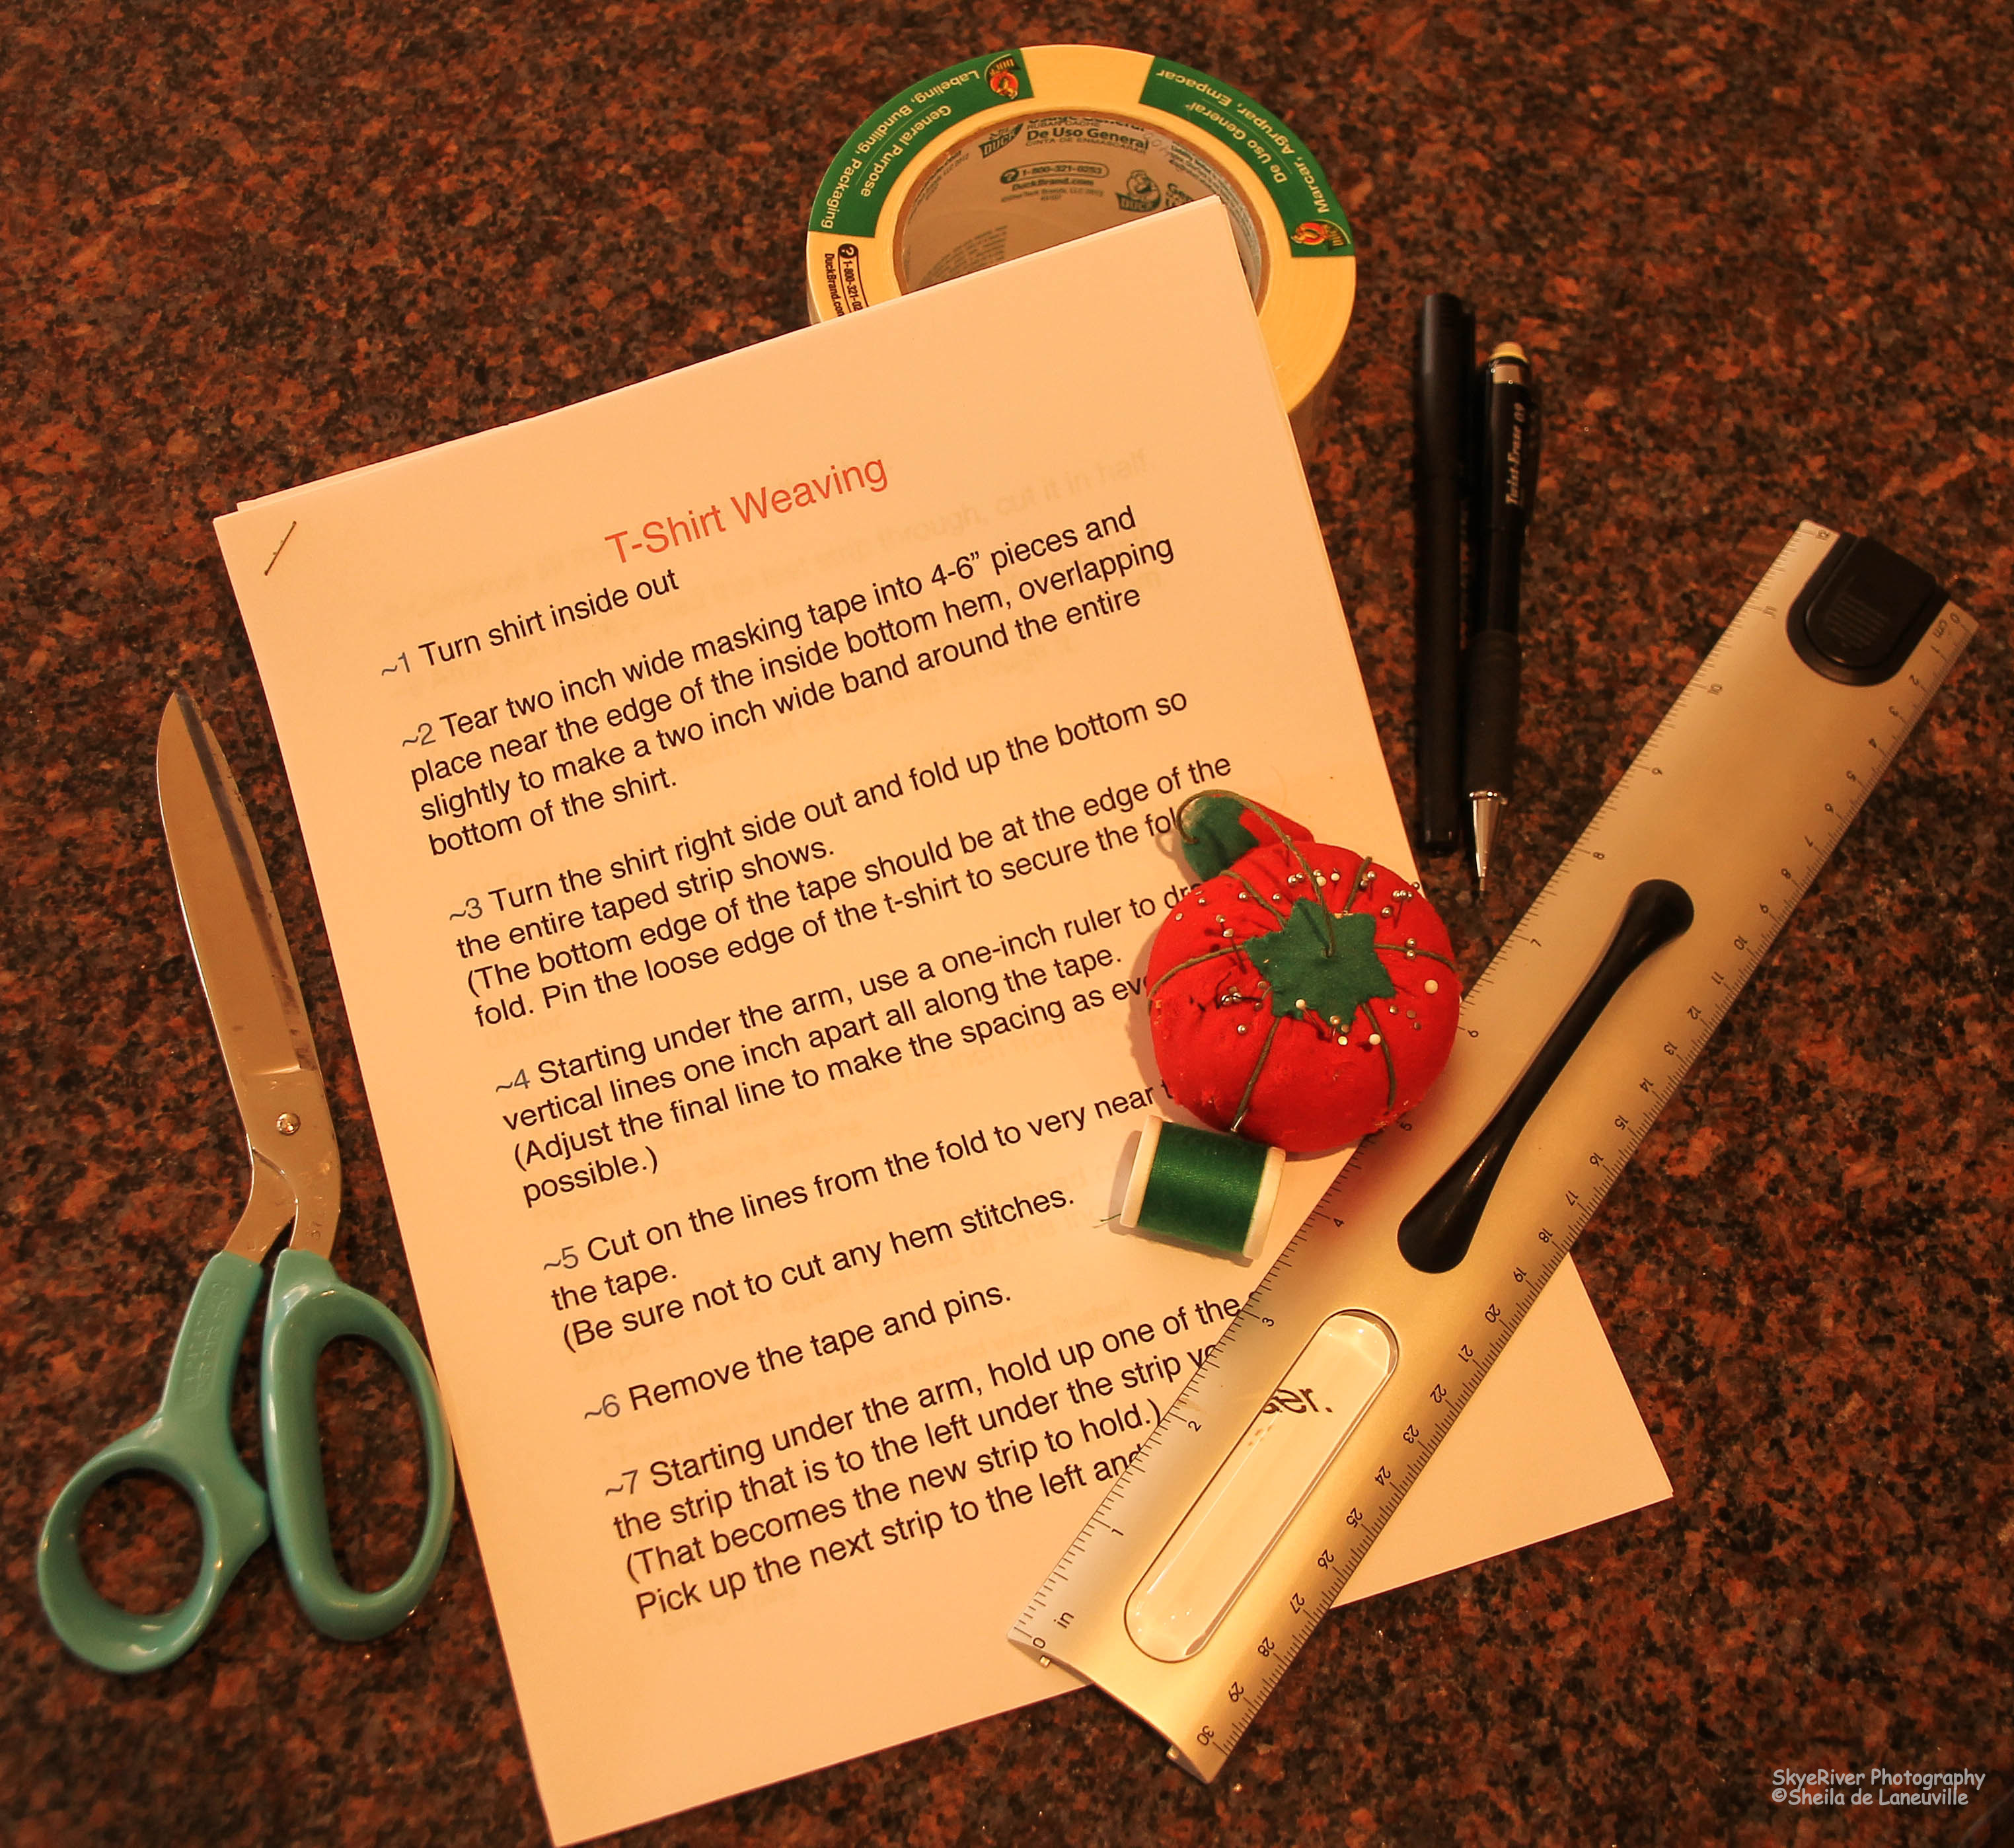
Materials needed:
- T-shirt (shirt will be 3 inches shorted when finished)
- 2 inch masking tape
- Scissors
- Pencil or pen
- Needle and thread (to match color of t-shirt)
- 1” x 6” ruler
- Straight pins
Steps:
~ 1 Turn T-shirt inside out
~ 2 Tear two inch wide masking tape into 4-6” pieces and place near the edge of the inside bottom hem, overlapping slightly to make a two inch wide band around the entire bottom of the shirt.
~ 3 Turn the shirt right side out and fold up the bottom so the entire taped strip shows. (The bottom edge of the tape should be at the edge of the fold. Pin the loose edge of the T-shirt to secure the fold.)
~ 4 Starting under the arm, use a one-inch ruler to draw vertical lines one inch apart all along the tape. (Adjust the final line to make the spacing as even as possible.)
~ 5 Cut on the lines from the fold to very near the edge of the tape. (Be sure not to cut any hem stitches.
~ 6 Remove the tape and pins.
~ 7 Starting under the arm, hold up one of the strips. Pull the strip that is to the left under the strip you are holding. (That becomes the new strip to hold.) Pick up the next strip to the left and pull it under.
~ 8 Continue all the way around the shirt.
~ 9 After you have pulled the last strip through, cut it in half.
~ 10 Find the first hole to the top left and loop the top half of the cut strip through it. Find the first hole to the bottom left and loop the bottom half of cut strip through it.
~ 11 Put the cut ends together and whip stitch.
~ 12 Pull on shirt to align work. (Look for any cut edges showing and turn those strips under.

(not too long anymore)

Wonderful idea and it adds a feminine accent braiding. Let’s have a “class” next Rally. We can local t-shirts from our Rally location and then weave them!
A ladies event at our next rally; that is a great idea! Darlene is the one that first showed me how to do this and gave me the instructions. I think of her a lot!!!